We have utilized the calendar/event feature of NationBuilder to create the eCommerce flow. So when we say product it actually means an event in NationBuilder. So please follow the instructions given below to create a product.
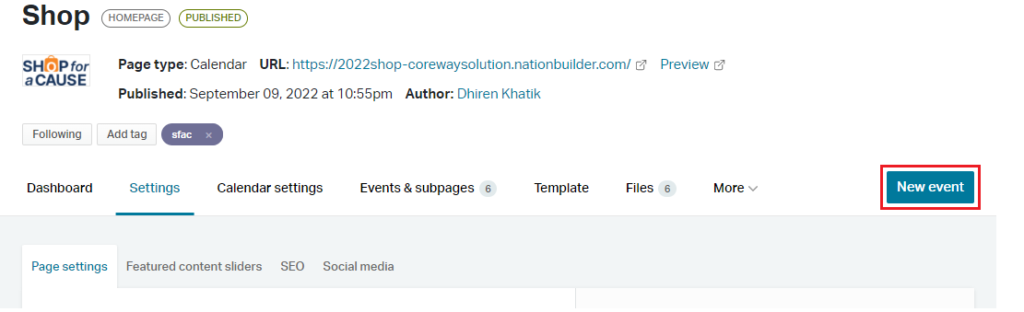
Go to the Shop landing page (must be calendar type page), there you can find the + New Event button to add a new event.
Give the product (event) a name (product name), slug, and status (unlisted to published), and click Create page button.

Now let’s add basic event details.

Category: As explained here, please add a category tag.
When: Though it is not part of the eCommerce flow, still we need to select the date as we are creating an event. It won’t be visible on the front.
NOTE: Make sure to select this as later as possible. i.e: 2050
Sell tickets: This must be checked as we are utilizing the paid tickets flow to buy products.
Redirection: Please create a checkout page as explained here and make sure you have selected this page as a redirection page to create the uniform eCommerce experience.
Click on the Save Settings button.
Adding product attributes and product price
To define the variant(attributes) and price of the product, we are using ticket creation for the event.
To configure the tickets, on the Shop landing page, go to Event settings > Tickets.
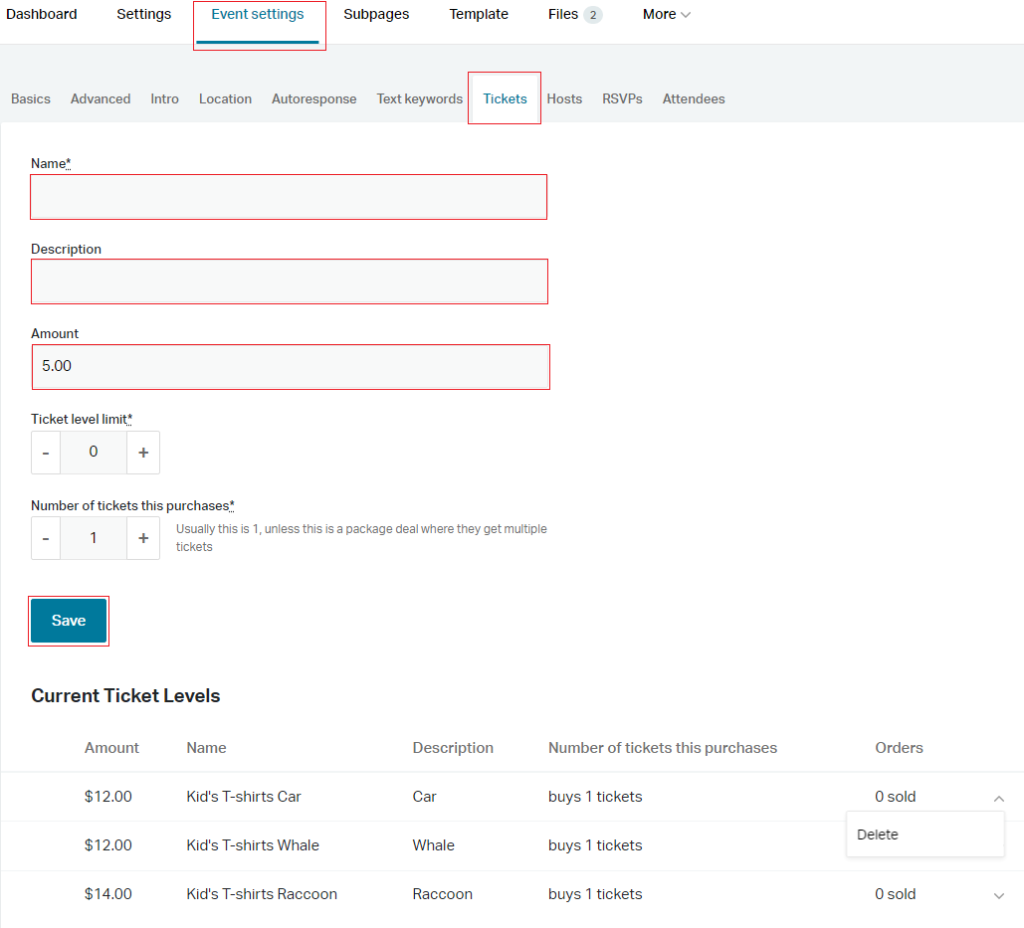
Name: Please use the name of your actual product + Variant name. i.e: If your product name is “Kid’s T-Shirt” and it has a different color then give the name like “Kid’s T-Shirt Blue” or “Kid’s T-Shirt Red” etc. If you don’t have a variant then keep the actual product name as it is.
Description: The text you insert into the description box will be visible in the attribute section of the product detail page. Check the snap below:

Ticket price: Insert the product price for this specific variant.
Ticket Level limit: Consider this as your product quantity and how many quantities you have for your product. Add the total product quantity here.
Number of tickets this purchases: Keep it 1 only.
Click the Save button to add this ticket (product variant or single product itself)
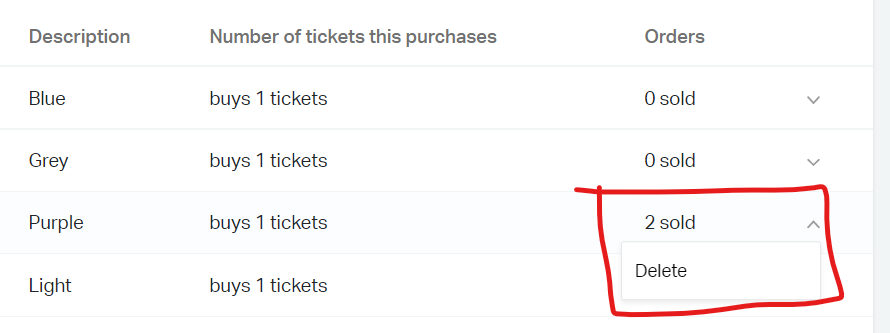
If you want to delete any ticket, you can simply delete it by hovering the dropdown as per span below:
Product Long Description: To add a long description of the product, please go to the specific product (Event) and click on the Event settings tab -> Intro. Add the description text in this editor.
Click the Save intro text button at the bottom of the page before continuing. If you make changes without saving them, they will be lost. Check the snap below:

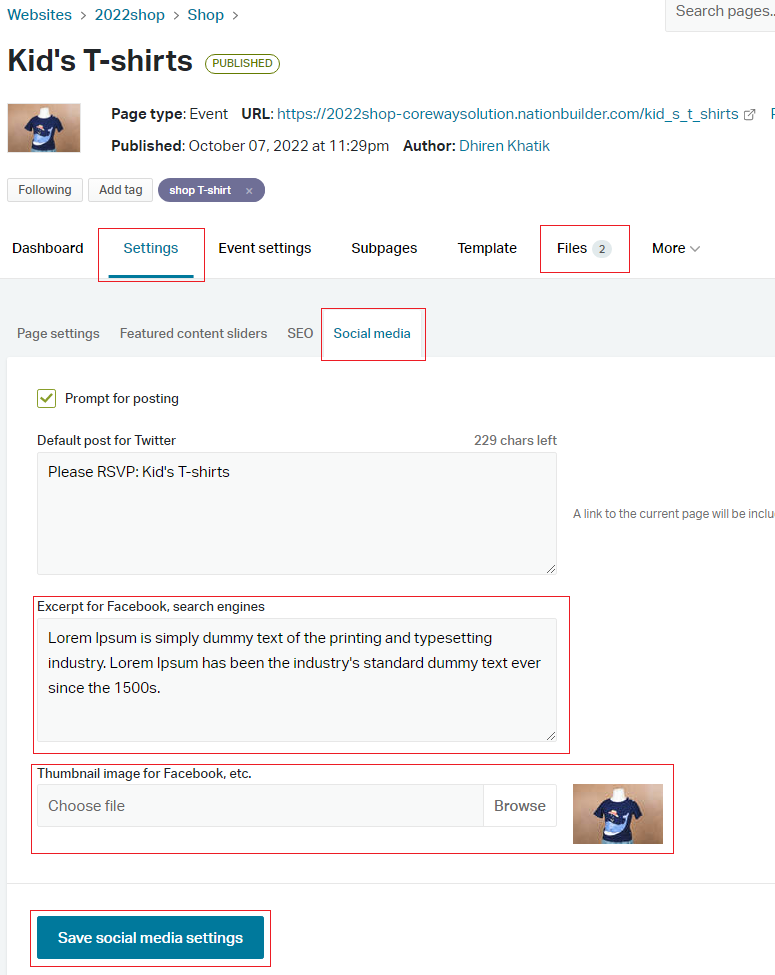
Short Description: To add a short description for the product go to Settings -> Social Media. There you will find the Excerpts input box. Add a short description there. Check the snap below:
Add Product Images
Featured product image: This is the primary image of the product that is visible on the listing page. To add this image go to Settings -> Social Media of the specific event. There you will find the “Thumbnail image for Facebook, etc.” option. Upload your image there. The proposed dimensions for the featured image is 1080px X 720px.
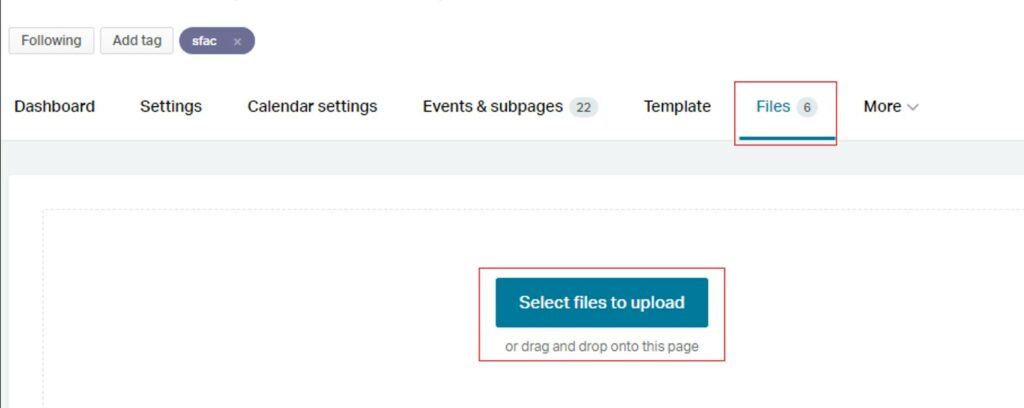
Other gallery images: These are the gallery images visible on the product detail page only. To add these images, go to “Files” tab of the specific event. Upload as many images as you want, all of them will be loaded on the product gallery. The proposed dimensions for the gallery images is 1080px X 720px.